Description
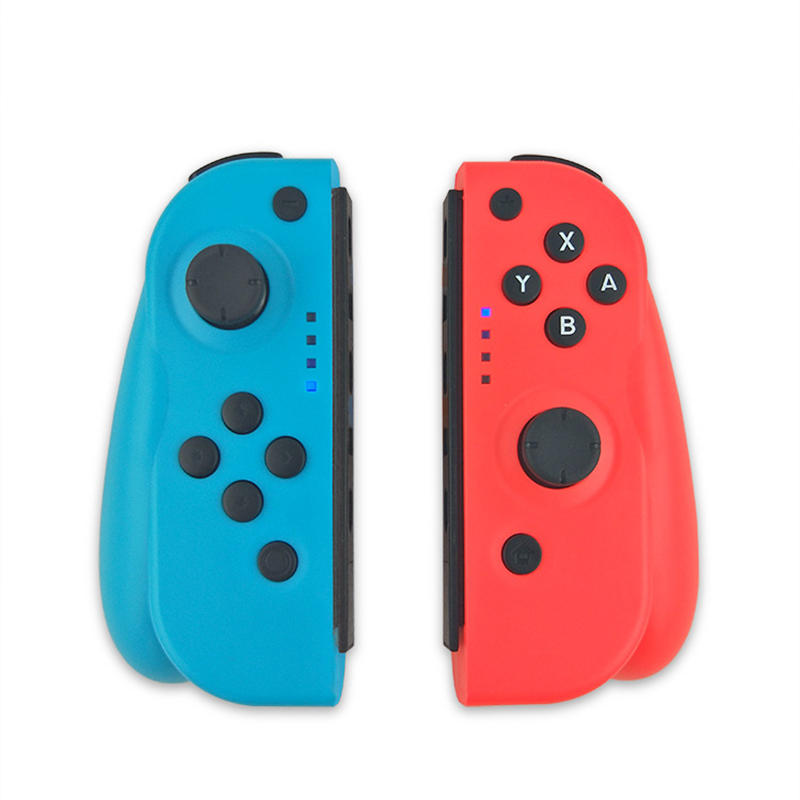
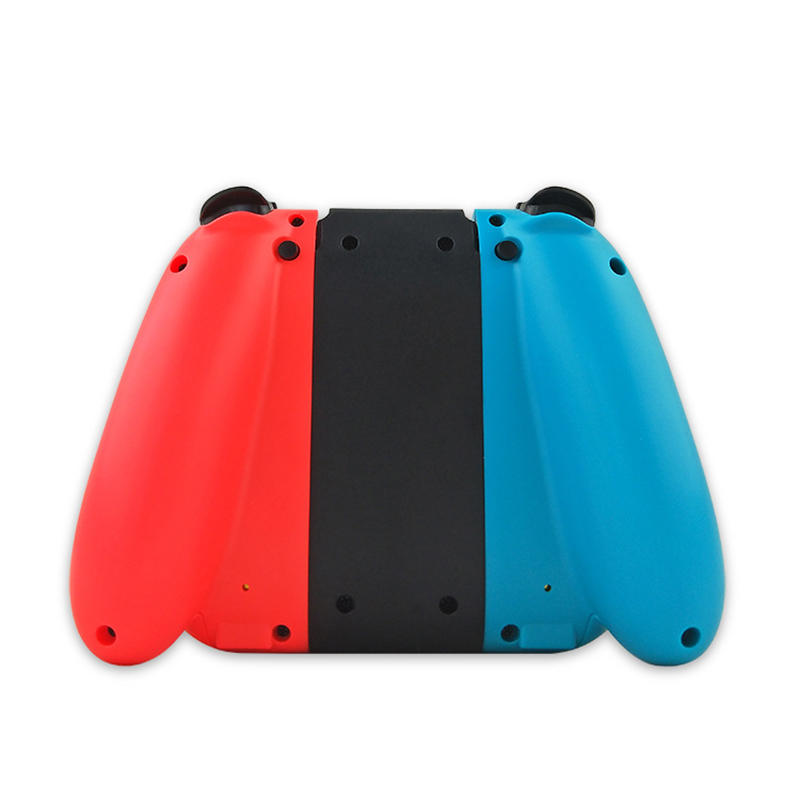
Instructions: Wired Connection:Game console On any interface, insert the left and right handle rails correspondingly into the left and right slide grooves of the game console to achieve wired connection with the game console. bluetooth Connection:(1) Open the Switch game console, click the settings menu button on the main page interface, click the System setings option to enter the next option menu, and then(2) Click the Airplane Mode option, and then click Controller Connection (bluetooth) to make its bluetooth function ON.(3) Press and hold the PAIR button for 3 seconds to boot and enter pairing. LED1-4 flashes as a running light. Open the host's home screen and click the Controllers menu. Then click Change Grip / Orde. The host will automatically search for pairing handles. The hosts are automatically paired successfully, and the corresponding channel lights of the hosts are always on; after connecting, click the A button and then select Close to exit to the main interface, and you can play the game. After 60 seconds, the handset did not pair successfully and shut down. (The host has 4 channels in total) 3 connections:(1) When the handle is paired with the same host once and the host's Bluetooth is on, short press any key to wake up the handle to enter the reconnect mode (except L3, R3, PAIR), LED1-4 flashes as a running light, about a few After two seconds, the controller and the host are automatically paired successfully. The host can start the game operation after the corresponding channel light is always on.(2) When the handle is in wired mode, pull out the handle, the handle will automatically connect back to the host, and the host will send the corresponding channel to the handle for the player to perform game operations. 4. Button Composition(1) Left handle: UP, DOWN, LEFT, RIGHT, L1, L2, L3,-, SL, SR, PAIR, screenshot and 1 analog 3D joystick.(2) Right handle: A, B, X, Y, R1, R2, R3, +, HOME, SL, SR, PAIR, and an analog 3D joystick. 5. Charge(1) When the handle is turned off, when the type-c connector of the handle is inserted into the adapter, LED1-4 flashes slowly at 2Hz. When fully charged, LED1-4 is always on. After removing the adapter, the LED is off. (2) When the controller is online or in the state, when the controller type-c interface is inserted into the adapter, the host interface will be displayed in the charging state. (When the controller is in handheld mode, the type-c interface of the controller cannot be charged! Avoid damage to the host) (3) The left and right handles can be inserted into the slide rail grooves on both sides of the SWITCH main unit, and the main unit can be charged while charging the main unit through the main unit charging fire cow. (When there is no fire cow charging, when the power of the host is above 50%, the host will charge the handle with low power)Package Included:
1 x Left Gamepad1 x Right Gamepad1 x Charging Cable

