Description
In-wall switch(single live)Overview:
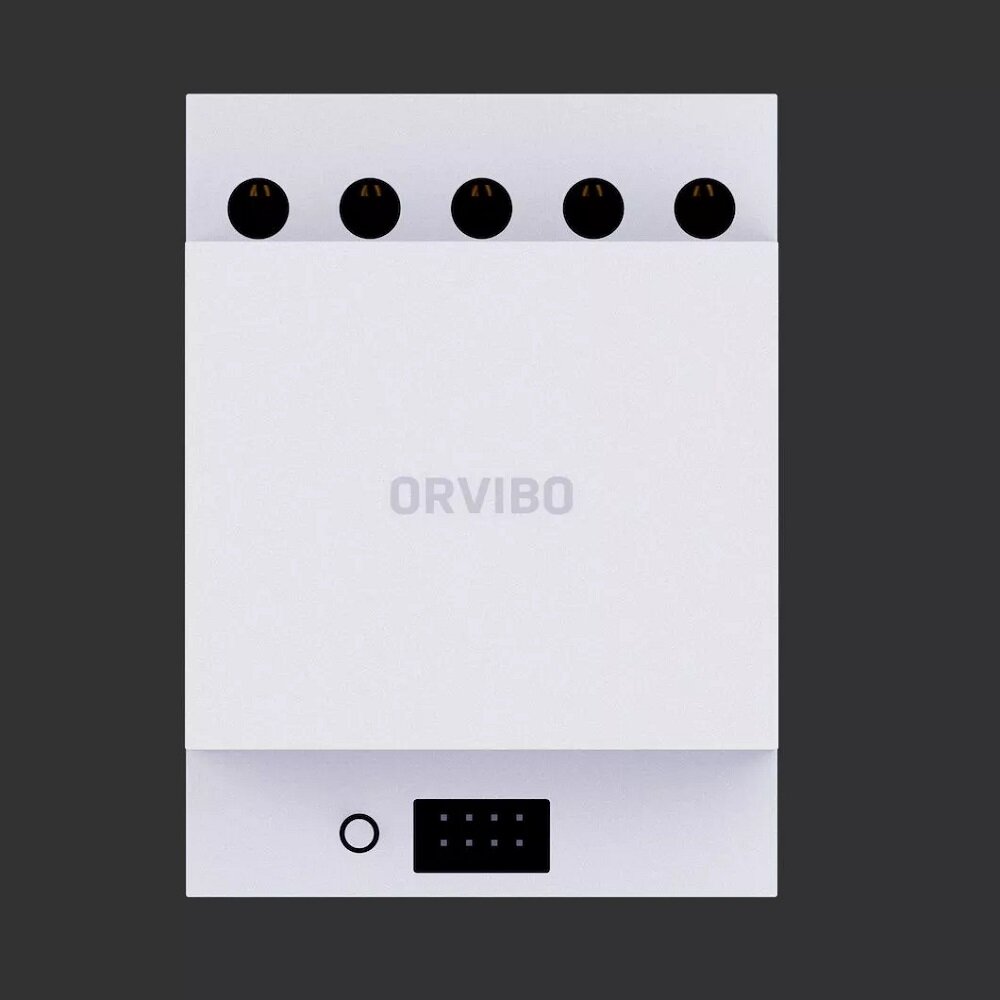
In wall switch (L) is a smart switch based on the Zb protocol. It is compact and can be installed in the ordinary switch bottom box. It can be used with the 86-type switch panel to realize the intelligent upgrade of the old switch panel. It can control the light by pressing the switch panel or use the intelligent terminal such as smart phone to realize remote control and scene control of the light. (Need to scan the QR code in the manual to download the "ORVIBO Home" APP)
Specification:
Product Name:In-wall Switch(Single Live)Product model: R20W2ZWorking voltage: 110-240V, 50/60HzLoad range: incandescent / halogen MAX 200W / road;LED / fluorescent MAX 100W / roadProduct size: 46 × 50.5 × 18mmCommunication protocol: ZbWorking environment: temperature -20~60°C; humidity ?80%
In-wall switch(neutral Line)
Overview:
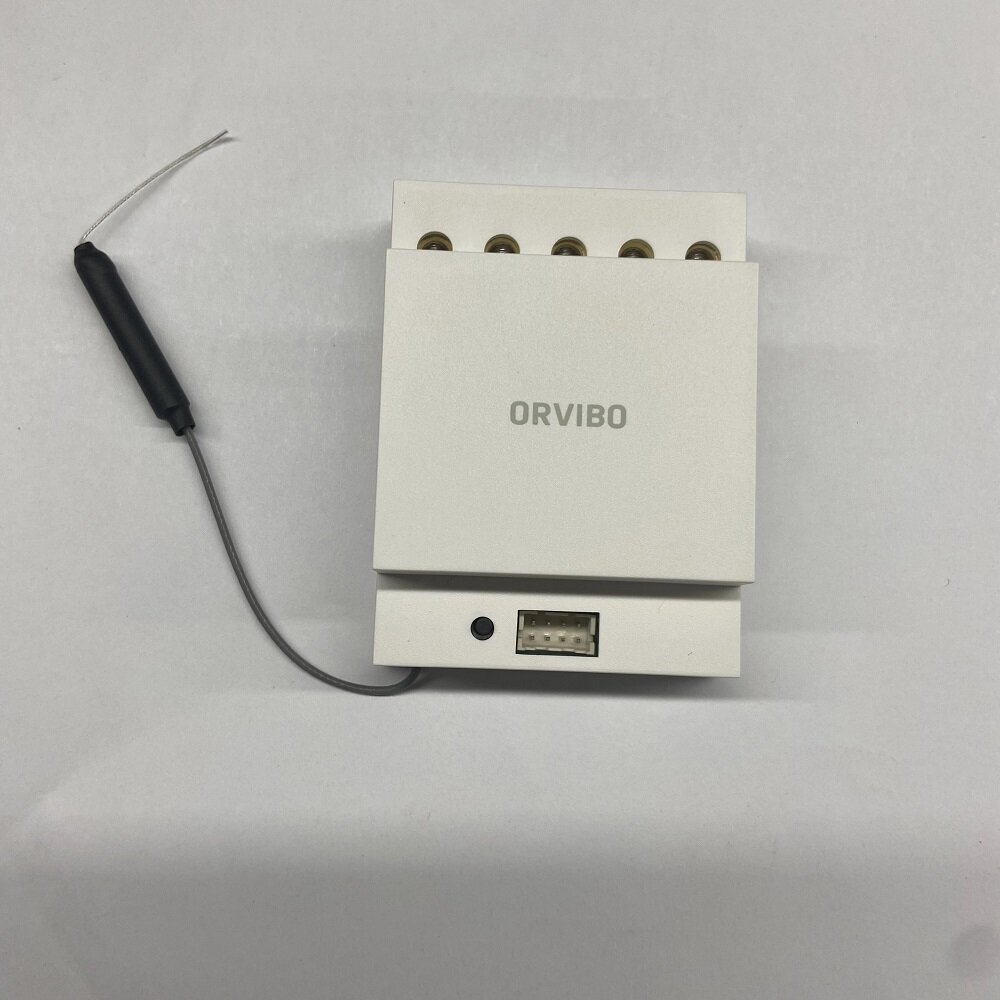
In wall switch (N+L) is a smart switch based on the Zb protocol. It is compact and can be installed in the ordinary switch bottom box. It can be used with the 86-type switch panel to realize the intelligent upgrade of the old switch panel. It can control the light by pressing the switch panel or use the intelligent terminal such as smart phone to realize remote control and scene control of the light. (Need to scan the QR code in the manual to download the "ORVIBO Home "APP)
Basic parameter:
Product model: R30W3ZWorking voltage: 110-240V? 50/60HzLoad range: Incandescent lamp/Halogen lamp/MAX 400W/channel LED lamp/Fluorescent lamp/MAX 200W/channelProduct size: 63*58*28mmCommunication protocol: ZBworking temperature: -20-60?, humidity ?%80
Note:
1. Standard 86 bottom box, depth ?5cm;2. Metal bottom box cannot be used, otherwise the wireless signal will be affected;3. This product only supports zero-fire power supply, please make sure that the zero line has been deployed on site before installation
Wiring scheme:
Reserve the 220V power zero live wire b. When connecting the light circuit, reserve the light control line (each bottom box can control up to three channels) c. The circuit in the bottom box is smooth, without knots, and no redundant lines
Configure and add devices:
1. Power on the switch2. Set up the switch panel typeRocker Switch: Factory default support rocker switchMomentary Switch (Press the button to close and release the button to disconnect): Press the button for more than 3 seconds, the indicator blinks three times and the switch type is successful changed.Rocker Switch: Press the button for more than 3 seconds again, Switch back from Momentary Switch to Rocker Switch, the indicator blinks three times and the switch mode is successful changed.3. Download and install the HomeMate APP to your mobile phone and register account.4. Open the app, Select the smart switch/ In wall switch (L&N) in the product list to add the product to the APP, and product indicator is off5. After the switch is connected to the network, three switches and a 4-button scene panel are created on the APP; when the 4 scene buttons of the scene panel are not set to bind the scene mode, the default S1 / S2 / S3 buttons are used to control the lamps S1 / S2 / S3, S4 The switch button is invalid; after S1 / S2 / S3 / S4 is bound to the scene mode, the original default function of controlling the lamps S1 / S2 / S3 is disabled, and the corresponding scene mode is set up instead.6. Fixed installation. Put the In wall switch into the switch box. Its better to use the glue to fix it7. Fixed antenna. Lay the antenna on the side of the hidden smart switch or on the back of the switch panel. Be careful to avoid the metal part of the switch panel to avoid affecting the wireless signal.8. Install the switch panel.
RESTORE FACTORY SETTINGS:
Press the configure button four times continuously, then long press one more over 5s till the LED start to flash to reset it. Please press the button again and follow the user guide to add it again.
INSTALLATION INSTRUCTIONS:
1. This product power by live and neutral power supply, please run the live and neutral wires on site;2. The deepness of the bottom box should more than 50mm;3. Metal switch bottom box will affect the zb signal. Must use plastic switch bottom box.4. Must be used within the power range.5. Can't be used in wet environments such as bathrooms.6. This product can only be installed by a professional electrician and cannot be operated with electricity.
Installation:
1. Turn off the lighting power supply and use the test pencil to confirm that the live wire in the cassette is not charged.2. Connect the in wall switch to the Neutral, Live and Load wires separately. Make sure the wires are not exposed;3. Connect the panel terminal wire (S1/S2/S3/S4) to the same wiring port of the mechanical switch as shown below.
Package included:
1 x In wall switch1 x Terminal1 x Cable1 x User manual1 x 3M tape

