Description
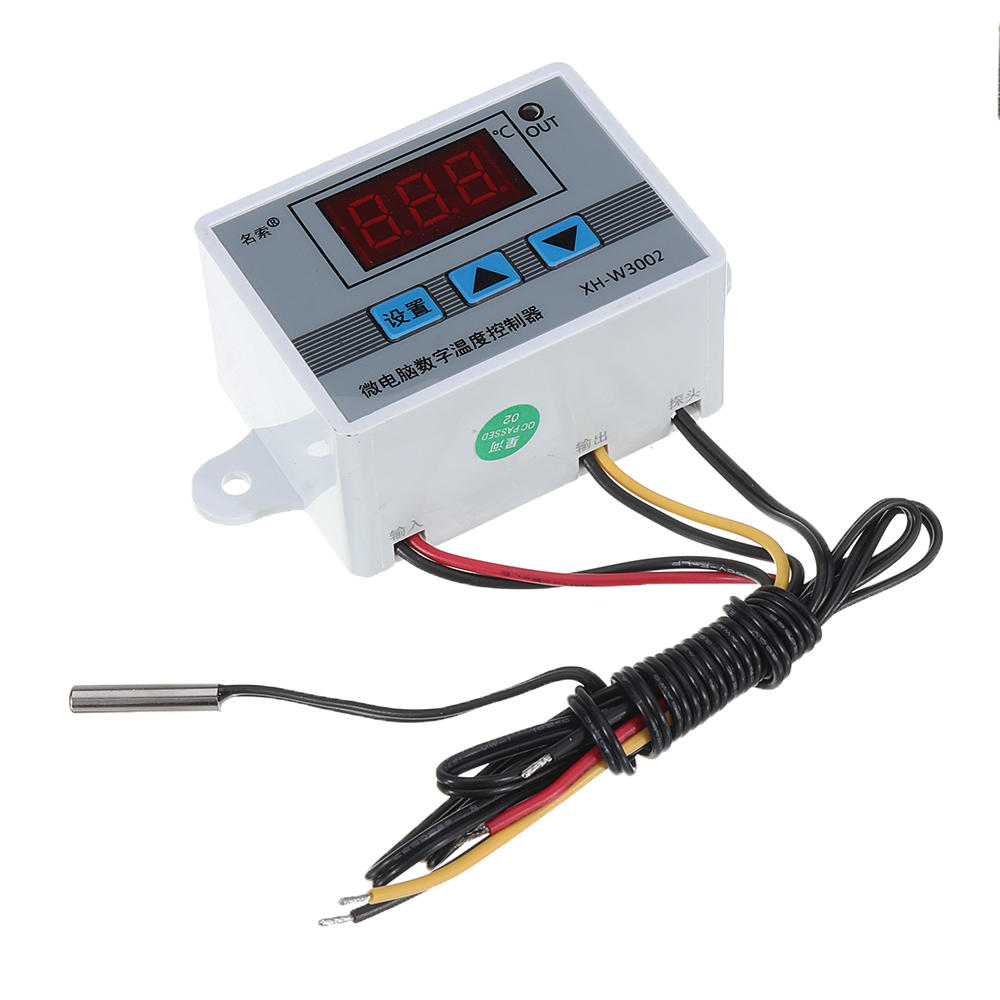
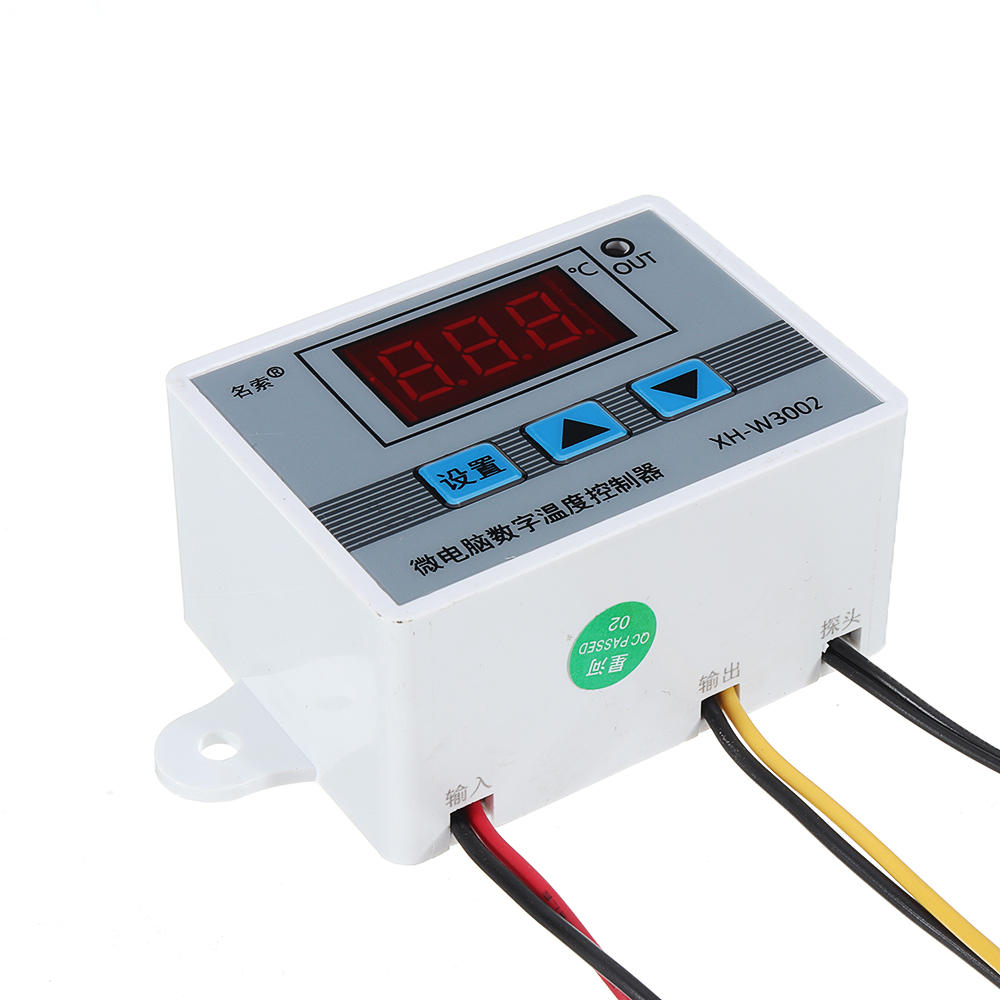
Feature:Product Name: Microcomputer Temperature ControllerProduct model: XH-W3002Temperature range: -50~110°CTemperature control range: -50~110°CTemperature measurement accuracy: +-0.2 °CTemperature control accuracy: +-0.1 °CTemperature probe: NTC10K (B3950) 1 meter waterproof probeSupply voltage: DC12V/DC24V/AC220VOutput power: AC220V: 1500WOutput type: direct outputAppearance size: 60 x 45 x 31mmOpening size: 73mm (aperture 4mm)
Package includes:
5 x Microcomputer Temperature Controller
Wiring:
Key Description: Up key: Short press to display the starting temperature, long press to set the starting temperature.Down button: short press to display the stop temperature, long press to set the stop temperature.Shutdown button: Press to turn off the thermostat, and then press to turn on the thermostat.
CodeCode descriptionSetting rangeFactory settingP0Starting temperature -50~110°C25P1Stop temperature -50~110°C40P2Temperature correction -10~10°C0°CP3Delayed start0-10 minutes0
P0. Set the startup temperature: Press the Setup button to enter the internal menu. The default display is P0. Press the Setup button again and set the desired startup temperature by pressing the up and down buttons. P1. Set the stop temperature: Press the setup button to enter the internal menu, the display is P0, switch to P1 by the up and down keys, press the setup button again, and set the required stop temperature by the up and down buttons. P2. Set the temperature correction: In the same way, enter the internal menu, switch to P2 by pressing the up and down buttons, press the setting button again, and set the required calibration temperature by pressing the up and down buttons. (Note: In the setting, if the detected temperature value is 0.5 °C larger than the actual temperature value, then the calibration temperature to be set is -0.5 ° C. If the detected value is 1 ° C smaller than the actual temperature value, the set calibration temperature is required. It is 1 ° C. Detection temperature + correction temperature = actual temperature.) P3. Set the delay start: In the same way, enter the internal menu, switch to P3 by pressing the up and down buttons, press the setting button again, and set the required delay time by the up and down buttons, the unit is minute. (Note: Delay start is generally used for compressor refrigeration. If it is used in refrigerator freezer, this value needs to be set. According to compressor back pressure, the general setting is 3-6 minutes, if you are not using it for control or doesn't need delay function, skip directly.
Instructions: Start temperatureStart temperature > stop temperature = cooling mode (output is connected to the cooling unit) 1. Connect the power supply and heating or cooling equipment according to the wiring diagram above (note the positive and negative poles)2. Press and hold the up key to set the starting temperature. When the screen number flashes, press the up and down keys to set the starting temperature you want. After setting, wait for 5 seconds to brake the system.3. Press and hold the key to set the stop temperature. When the screen number flashes, press the up and down keys to set the desired stop temperature. After setting, wait for 5 seconds to automatically save the data.4. Restore the factory: Colleagues press and hold the up and down keys for 5 seconds, when the screen displays 888, the factory is restored.5. Press the power off button to turn off the thermostat and press to turn on the thermostat.
Tips:
888: In the case of power-on, press and hold the up and down keys for about 3 seconds, the digital tube displays 888, and automatically jumps to the detection temperature, that is, the factory settings are restored successfully.LLL: Describe the sensor is open circuit, repair the sensor, or replace the sensorHHH: The sensor is short circuit.

