Description
1. High-precision machining, made by machining center, stable size and precise hole position
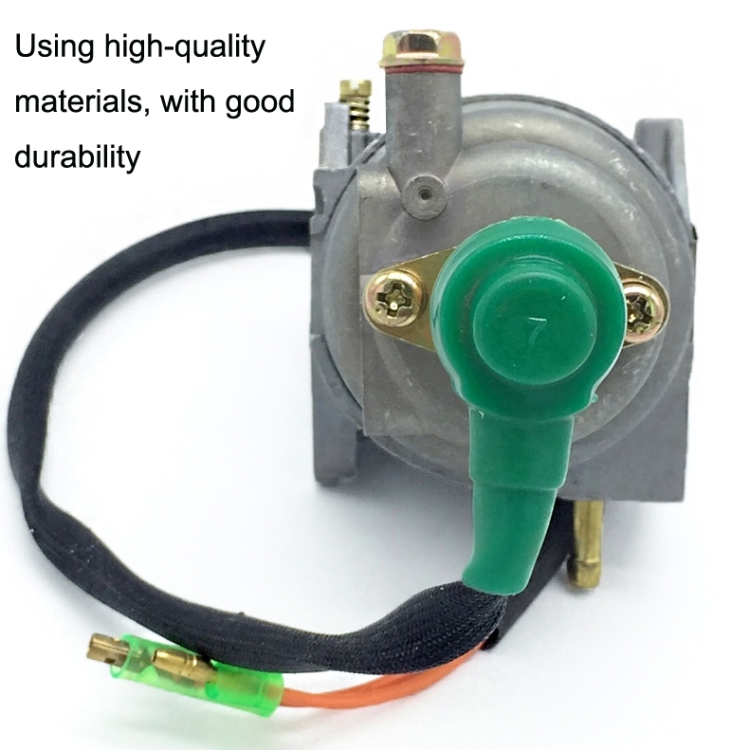
2. Using high-quality materials, with good durability
3. Easy to install and reliable to use
4. Fine workmanship and careful polishing, the product is smooth and has no flash
5. Applicable generator: GX390 188 gasoline generator
6. Material: aluminum alloy
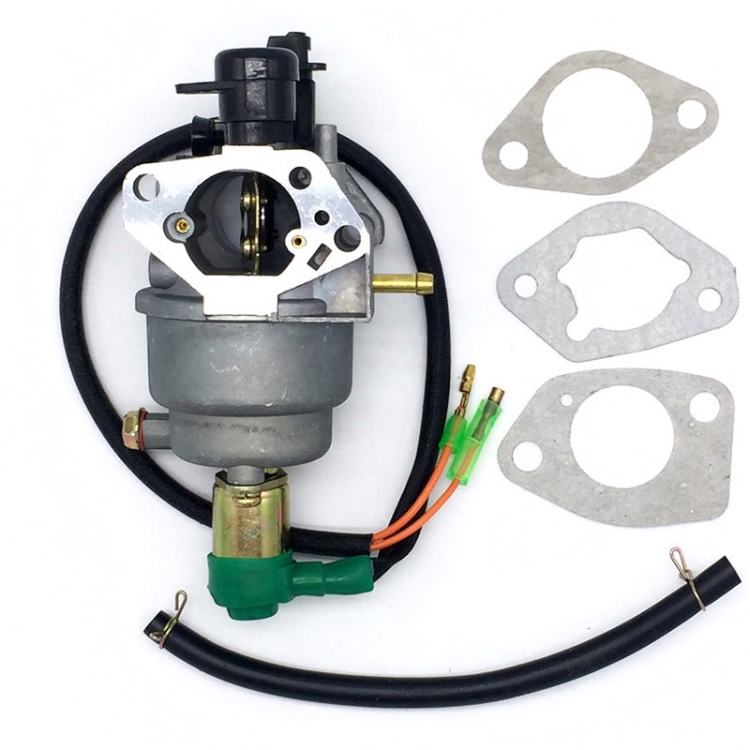
7. Details of accessories: carburetor, gasket set, battery valve
8. Power: 5KW-9KW
9. Installation aperture: 52.5MM, throat size 27
10. Idle speed: 3100
11. Acceleration: 3900
12. Fuel consumption: 0.54L
13. Torque: 2.7KGm/2.500rpm
14. Weight: 350g
Carburetor Instructions:
1. It is a mechanical device that mixes a certain proportion of gasoline and air under the vacuum generated by the engine.
2. The carburetor will automatically mix the corresponding concentration according to the requirements of different working conditions of the engine, and output the corresponding amount of mixed gas. In order to make the mixed gas mixed evenly, the carburetor also has the ability to make the fuel mist The effect of optimization for the normal operation of the machine
Normal maintenance of carburetor:
1. Maintain the cleanliness of the carburetor when it leaves the factory, and use various advanced equipment and processes to strictly control every link of production.
2. Regularly clean the carburetor to keep the oil passage and air passage of the carburetor clean, and the small holes are smooth
Precautions:
1. The carburetor is a key component in the engine, and small changes may affect the performance of the entire vehicle. Therefore, during the disassembly and assembly of the carburetor, appropriate tools should be used, and the force should be moderate to prevent deformation of the parts. The disassembled parts should be placed neatly in order to prevent missing or wrong assembly during assembly.
2. The carburetor should be cleaned in a clean place. First wipe the outer surface of the carburetor, and the internal parts can be cleaned with carburetor special cleaning agent or industrial gasoline. In addition to impurities, pay attention to cleaning the gasoline colloid on the surface of the parts. Cleaned parts should be blown with compressed air, and cannot be wiped with cloth or paper that will produce burrs to prevent re-contamination. It is forbidden to open the clogged holes with hard objects such as steel wires, so as to prevent the performance change of the carburetor caused by changing the hole diameter, it should be washed out with gasoline or compressed air.
3. During the assembly process of the carburetor, the connecting screw of the float chamber and the connecting screw of the carburetor and the engine must not be tightened at one time, but must be tightened several times. The general tightening torque is between 12N.m and 15N.m. Otherwise, the joint surface will be deformed, and air leakage or oil leakage will occur. The tightening torque of measuring hole parts is generally between 1.5N.m and 3.0N.m. If the tightening torque is too high, the threads will be damaged, the parts will be deformed, and even metal chips will be generated, causing secondary pollution and affecting the performance of the carburetor.
4. In the process of cleaning the carburetor, if there is a lot of sediment in the float chamber of the carburetor, it is often caused by the failure of the gasoline filter. At this time, the gasoline filter should be checked. If it is confirmed that it is invalid, it needs to be cleaned or replaced with a new one.
5. If the motorcycle is not used for a long time, it is necessary to drain the fuel in the carburetor float chamber to prevent gasoline colloidal deposits from coagulating and causing carburetor failure. In addition, it should be emphasized that: since the position of the idle speed adjustment screw has an important impact on the performance of motorcycle emission, idle speed, transition, fuel consumption, etc., it is generally forbidden to turn the idle speed air adjustment screw when cleaning the carburetor. If it is really necessary to remove the idle air adjustment screw, first screw the adjusting screw to the bottom, remember the number of turns (accurate to 1/8 turn), and return according to the original number of turns when assembling


