Description
OBD2 necessarily for cars1. Sold after January 1, 1996 in the USA
2. Sold after January 1, 2001 in the European Union
3. With diesel engine sold after January 1, 2003
What Does EcoOBD2 Make
1. According to your driving habits, EcoOBD2 makes new map in the car's computer ECU for the vehicle's lower fuel consumption.
2. As you driving much more KM/Mile, EcoOBD2 renews the map and adjusts itself to match your car perfectly for more fuel saving.
EcoOBD2 Chip Tuning Box
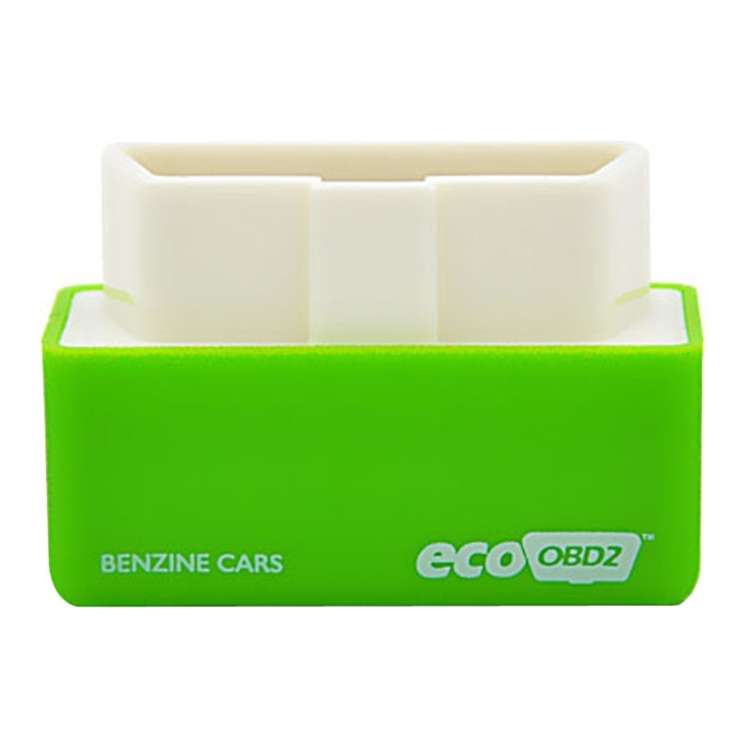
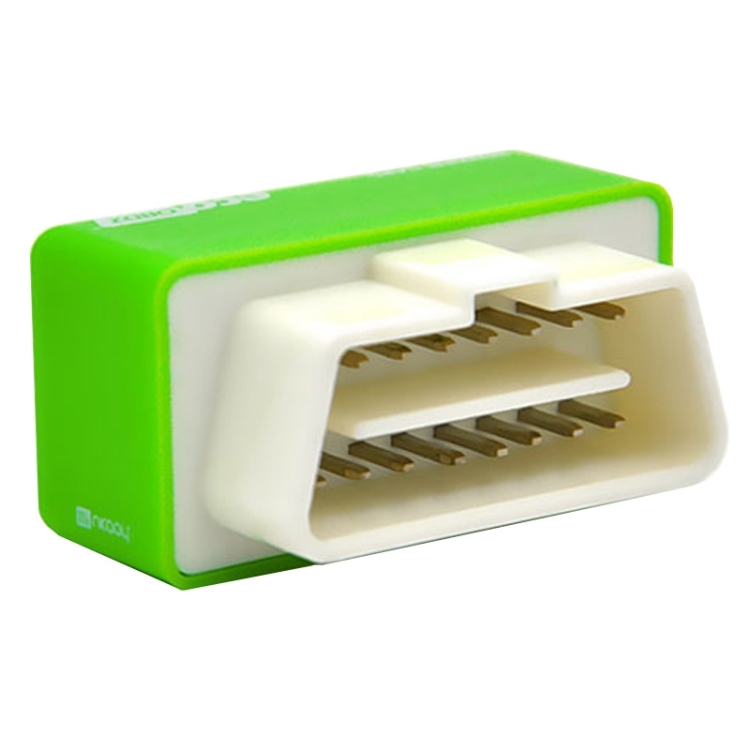
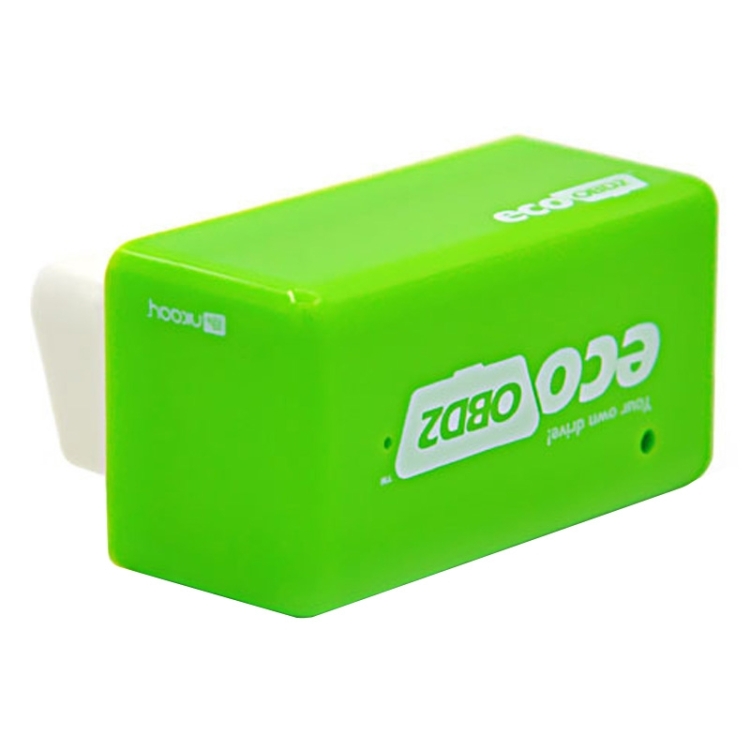
1. EcoOBD2 is a Chip Tuning Box which can be plugged into OBD2 connector of your car to decrease the fuel consumption of your car.
2. When it plugged into OBD2 connector, EcoOBD2 receives the information from the car - computer ECU. With the received data from ECU,
3. EcoOBD2 adjusts the boost pressure, quantity of fuel, injection timing and pressure to decrease the fuel consumption of your car.
4. EcoOBD2 Chip Tuning Box does not exceed the manufacturer - requirements. It works only within the tolerance of the engine.
5. EcoOBD2 finds out the hidden power of your car.
6. EcoOBD2 does not damage the engine and the cars computer ECU or not cause any negative effects to the car factory setting.
7. EcoOBD2 does not change any of the settings permanently. To turn back to the car's original settings, just unplug EcoOBD2 from OBD2 connector.
Features
1. EcoOBD2 finds out the hidden power of your car. - Up to 15% fuel savings
2. EcoOBD2 is very easy to use.
3. Plug EcoOBD2 into OBD2 connector of your car. And turn the ignition on for 30 seconds. And Turn the engine on.
4. EcoOBD2 settings are optimal and the best for your car. Even the parameters are different for each vehicle, there might not be a need to make an additional adjustment.
5. EcoOBD2 will recognize your vehicle and your driving habits after around 200 km/150 miles driving, and then EcoOBD2 adjusts itself to match your car perfectly.
6. EcoOBD2 works on the basis of changing the signal form ECU. As a consequence, it changes the whole injection map.
7. The main difference between EcoOBD2 Chip Tuning Box and Remapping tuning methods is that EcoOBD2 Chip Tuning Box is easily removable, and after unplug you go back to the factory settings. EcoOBD2 is the cheap and safe type of tuning. Remapping is a permanent change to your car.
8. This is the expensive tuning and you cannot remove it. EcoOBD2 is equipped with the engine protection function and 100% safe for your car engine.
9. EcoOBD2 produced on the printed circuit board in SMD technology. EcoOBD2 Chip Tuning Boxes are high quality.
Installation and Calibration
1. EcoOBD2 is a Plug&Drive Ready device to function the reducing fuel 1. Pull the Car Key out from the ignition.
2. Find OBD2 connector(*) in your car and Plug in EcoOBD2
3. Insert the key into the ignition and twist the key to the first stage. (Do not start the car)
4. Press the reset button for about 5 sec. After releasing the buttom, just wait for a while about 30-54 sec. (EcoOBD2 will communicate and establish connection with ECU)
5.Start up the engine.
6. EcoOBD2 will recognize your vehicle and your driving habits, after around 200 km/150 miles driving and thus EcoOBD2 will adjust itself to match your car perfectly for more fuel saving.
About the product
1. EcoOBD2 is a Plug&Drive Ready device to function the reducing fuel consumption for the economy and lower emission for the world.
2. EcoOBD2 is easy to install. Just plug it into the OBD2 connector of cars. EcoOBD2 fits all car from the year of 1996.
3. It works based OBD2 protocols as remaping the Car's computer ECU. After driving 200 km road total, EcoOBD2 adjusts itself to the car, according to the drivers' habits and always keeps remaping the ECU to save fuel lower and immission.
Connect in Cars
1. Driver's side, underneath dasboard, in the area under the steering
column,
2. Driver's side, underneath dasboard,between the driver-side door and steering column area
3. Driver's side, underneath dasboard, between the steering column area and the center console
4. Driver's side, dashboard instrument/gauge area, between the steering column and center console
5. Driver's side, dashboard instrument/gauge area, between the driver-side door and steering column
6. Center console, vertical surface left of vehicle centerline
7. Center console, vertical surface right of vehicle centerline or on passenger side of center console
8. Center console, horizontal surface in front passenger area.

