Description
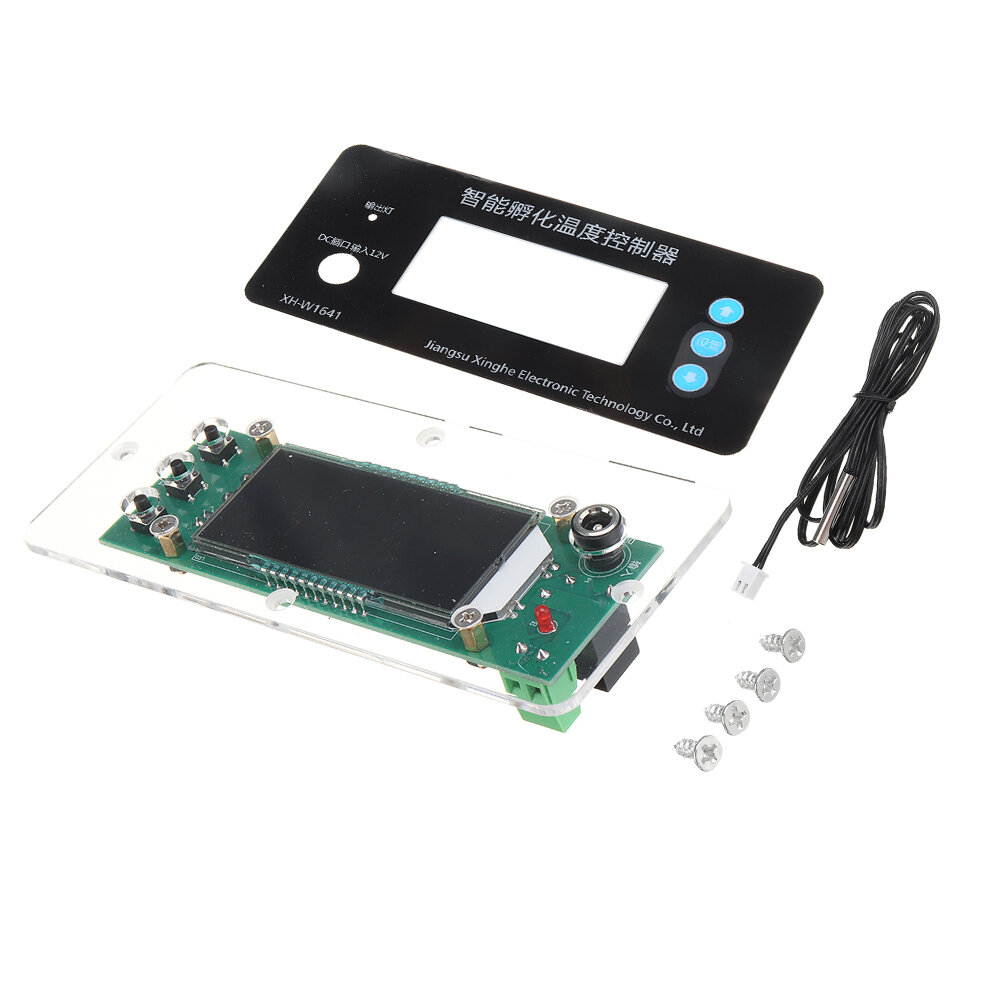
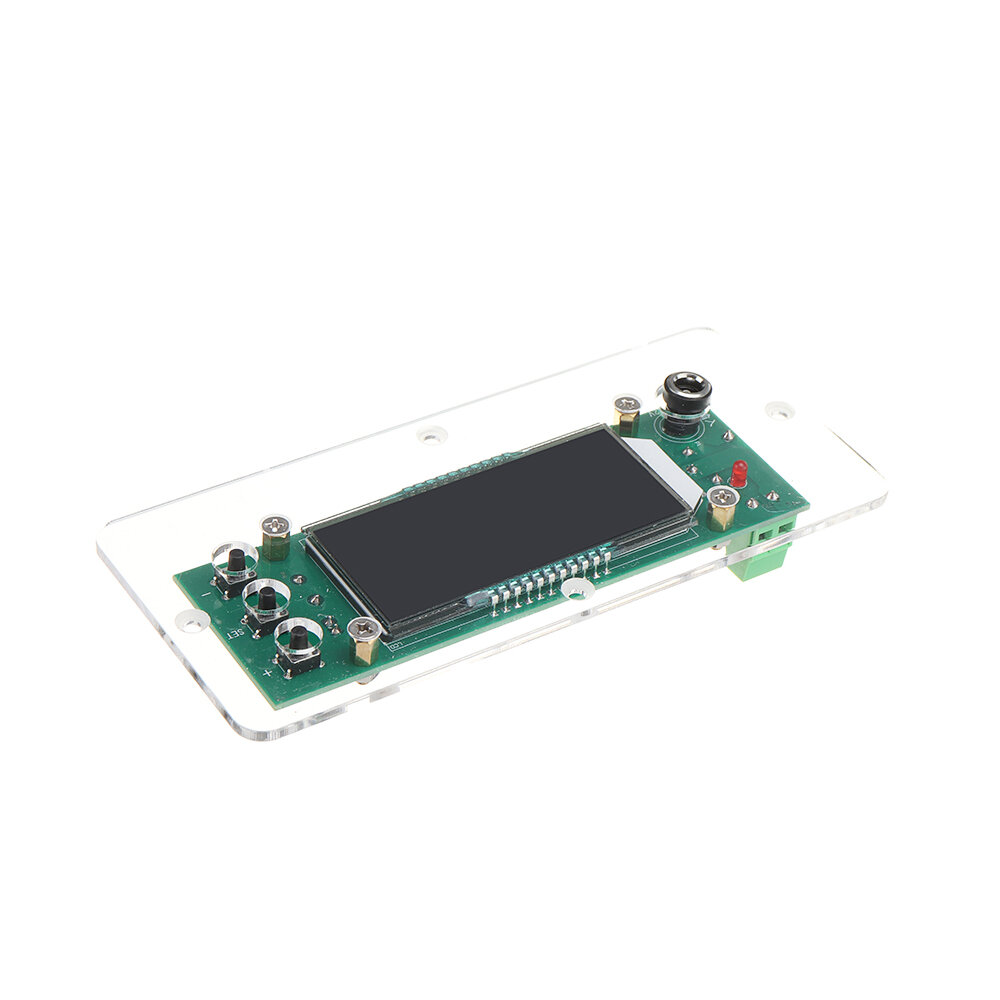
Specification:Product Name: Intelligent incubation temperature controllerProduct model: XH-W1641Temperature measurement range: -50 ~ 110 ?Temperature measurement accuracy: ± 0.1 ?Temperature control range: -50 ~ 110 ?Temperature control accuracy: 0.1 ?Temperature probe: 1 m probePower supply voltage: DC12VApplicable environment: - 15 ~ 55 ? / 20% ~ 85% RHOutput type: 10A Relay direct outputDimension: 144* 64 * 28mmEmbedded opening: 132*52mm (3mm)
Product weight: 83g
Package included:
1 x Intelligent incubation temperature controller
How to set the incubation temperature?1. Connect the power supply and heating equipment according to the wiring diagram2. Short press the set button once and then press the up/down button to set the set temperature value3.Long press for 10s to enter the internal menu, press the up/down button to switch to P1 (hysteresis setting), press the set button again, the hysteresis value flashes, press the up/down button to adjust the hysteresis value (the button is not operated for 10s and it will automatically save and Return to the normal display interface)
Example: I want to control the chicken incubation temperature at 37.8-38?. How to set it?1. Connect the power supply and heating equipment according to the wiring diagram2. Set the set temperature to 38°C3. Set the P1 return difference to 0.2°C (38-37.8=0.2)The thermostat will start heating at 37.8°C, and stop heating when heated to 38°C, and keep cycling.
How to use the incubation days function?The incubation days function is to cumulatively display the number of days that have been hatched, which can visually show how many days the chicks have hatched
Example: The chick has been hatched for 5 days, how can I adjust the display of the number of incubation days with this thermostat?Answer: Short press the set button twice, the number of incubation days will flash, press the up button to adjust the value to 5, and the incubation time will accumulate to 99 days, starting from zero.

